This tutorial follows the one about the keychain. Therefore, certain information and steps covered in the previous tutorial will not be repeated here.
An introductory tutorial to Inkscape with the creation of a bookmark that can be laser cut.
Creating a bookmark
.png)
Inkscape (3) - Bookmark
An introductory tutorial to Inkscape with the creation of a bookmark that can be laser cut.
Pré-requis :
Logiciels :
Documentation réalisée à :

We will start by creating the different elements that will make up your bookmark. Start by drawing two rectangles and adjust the rounded corners.
The large rectangle will form the outline of your bookmark and will have dimensions of 35 x 170 mm.
The second rectangle will serve as a tool for the edges of your bookmark. It will have dimensions of 25 x 160 mm. Leave it aside for now, we will use it later.

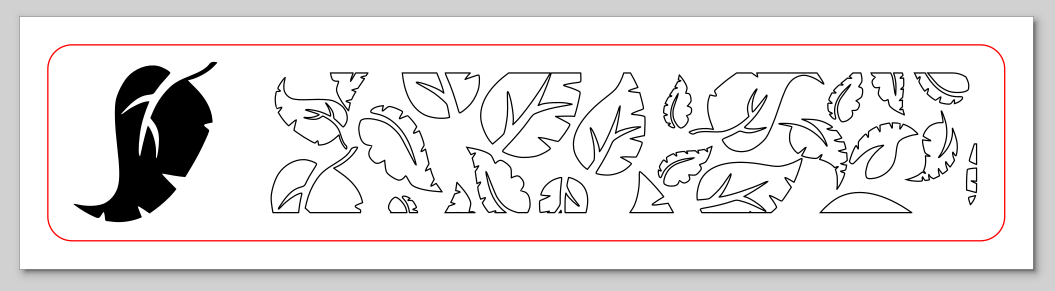
To create our pattern, we will use black and white images. You can find shapes of this type on the website The Noun Project.
In our example, we will use leaf shapes from a gallery, but you can, of course, choose your own designs. However, you should have at least 4 with sufficient differences to create an interesting pattern.

For now, your images are in a raster format. We will now need to transform these images into vectors, allowing us to later work with Inkscape’s vector modification tools. To do this, use the Trace Bitmap tool in Path, just like in the previous tutorial.
Vectorize all the images to only retrieve the vector shapes. You can then delete the images; we won’t need them anymore.

Gather your shapes and adjust the dimensions so that they can at least fit within the width of your bookmark. We will use them later as a template for the Spray Clones tool.

We will now use the Spray Clones tool to duplicate our shapes in a more organic manner. To do this, select your shapes and then click on the tool in the right-hand menu bar  .
.
Adjust the settings according to your needs and the look you want to achieve. For a trial, the settings chosen for our example are indicated below (right-click, open in a new tab):


After spraying, it’s highly likely that several shapes overlap. You could adjust manually, but Inkscape has a tool to correct this and save you some time.
In Object, go to the Align and Distribute tool. Then select your generated shapes and use the Randomize centers tool multiple times  .
.
Once the result is close to what you want, finish the finer adjustments manually and remove the shapes outside the rectangle.

Now that you have your shapes, you will use the Path > Union tool to unify all the shapes. Once this is done, select the green rectangle, then the blue rectangle and in the Align and Distribute tool, select Relative to: First selected then click on the horizontal and vertical centering icons 

Finally, select your shapes along with the blue rectangle and choose the Intersection merge mode 

You’re almost done with this mini-project. You can now add a shape of your choice on top and modify the stroke colors. This will not affect the cutting but will give you a better visual rendering of your project. For example, you can make the following choices:
All that’s left is to save your file so that you can later have it cut on the MakerSpace laser.