Save
Why not take the opportunity to save your work before moving on? 😋
Creating a keychain
.png)
The aim of this tutorial is to discover the basic functions of Inkscape by completing a small keychain project. This tutorial will cover:

We will start by creating the different elements that will make up your keychain. Start by drawing a rectangle, a circle, and a star using the tools in the left toolbar:


To better visualize, we will change the colors of the elements. These colors will only be there temporarily to help us model our shape. Once finished, we can change them if needed.
For this, we will use the quick color bar below the window.

Change the colors of the objects as you wish.

We will now change the size of the objects. First, we will modify the size of the main plate. To do this, click on the rectangle and change its dimensions in the top toolbar. Make sure to set it in mm. The height should be 20mm. For the width, you can start with 60mm, and you can change it later if needed.

Do the same for the circle that represents the hole for your keychain ring, giving it the following dimensions:


Now move your elements as shown in the example to build your keychain.
By clicking twice slowly on a shape, you have the option to rotate your elements to adjust them. Try it with the star.
If your elements are not at the correct height, you can move them up or down in the layer order with the buttons 
Finally, you can adjust the size of the rounded corners of your rectangle. For this, double-click quickly on the shape and adjust using the round handles that just appeared:

We will now insert your text. To do this, simply click on Create and Edit Text Objects  then click on your workspace. Write your text. You can change the font in the top left corner
  .
.
You can edit the size of your text like classic elements. However, make sure to check the Keep the same proportions option in the top toolbar 

It is very likely that when inserting your text, your keychain is too big or too small. In this case, adjust the size of your rectangle as well as the position of the circle.
So far, our elements are separate shapes. But what we want to have in the end is a cutting outline and text engraving. We will therefore see how to merge our elements.

For now, your text is an element that only Inkscape can interpret. In order for the laser cutter to correctly engrave the letters, we will need to convert them into a path. To do this, click on your text, then go to Path > Object to Path
The modification will not be visible directly, but if you click multiple times on the letters, you will see that you can no longer edit them as text but as a complex path.


We will now merge the elements to create our keychain outline. For this, we will use the tools available in the Path menu.
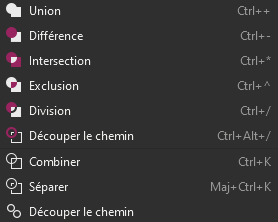
First, we will select the star and the rectangle by clicking and holding down the Shift key, then we will click on the Union tool  .
.
Finally, we will do the same with the newly created shape and the circle, but this time we will use the Difference tool  .
.
We will then have the outline shape of our keychain that will allow us to cut it out with the laser.

Now that you have your final shape, it might be interesting to change the representation of your shape. For example, it is quite common to set the shapes that will be cut with a white or transparent background, and with a red outline.
We will now add an image to our keychain. The problem is that an image is a pixel-based element. So we will have to transform our image into a vector element in order to be able to engrave or cut it and manipulate it in Inkscape.

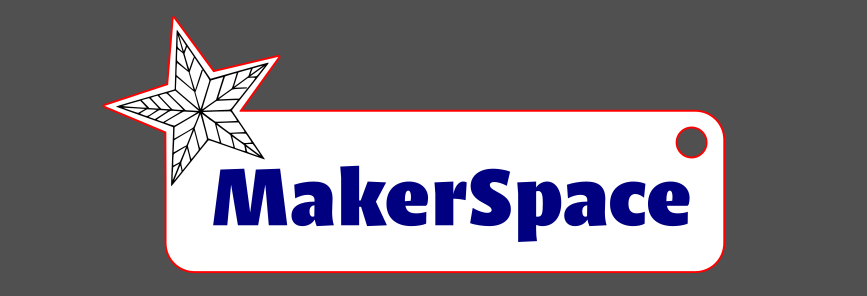
In our example, we will use the image opposite to make our keychain. But you can use any image as long as it is black and white.
Copy-paste the opposite image into Inkscape and resize it accordingly.


Now click on your image and go to Path > Trace Bitmap  . A menu on your right opens. Adjust the threshold until the image suits you, then click Apply at the bottom of the menu.
Move the newly created vector object. You can modify its size and orientation like a classic object. You can also edit the nodes of the object if you need to, and you can delete your image, you will no longer need it.
Position the object on your keychain.
And there you go! Your keychain is finished! But of course, we’re not going to cut it like that! Now that you know the basics of using the Inkscape software, we recommend that you go through the previous steps and create your own shape by testing the available tools.
Don’t forget to save your work regularly!