Steps for Various Activities
Getting Started
Durée :
Difficulté :
Compatibilité :
Pré-requis :
Documentation réalisée à :
Goals
The goal is to introduce you to two rapid prototyping techniques: 3D printing and laser cutting. To do this, you will start by following tutorials that will teach you design techniques for these two machines. Then, you will decide on a small personal or group project that you will design and create.
Steps
1 - MakerSpace Tour

First, we will tour the MakerSpace and discover the tools you will be using. The aim is to familiarize you with the spaces and techniques.
2 - Small 3D Printing Project

Before designing your 3D objects, we suggest you choose an already modeled object to 3D print from the internet. For this, visit the Printables website and select a small project to print. Be careful not to choose a project that is too complex or too large initially. If you have found your project, check its feasibility with the FabManager.
Most parts will be printed during the session. If there are remaining parts to be printed, or if the parts take too long to print, they will be printed for the next session.
3 - Small Laser Cutting Project

The next project is to create a simple keychain using laser cutting to familiarize yourself with vector design. For this, you will find a tutorial by following this link.
4 - Second Laser Cutting Project

The second laser cutting project is to create a bookmark using laser cutting. For this, you will find a tutorial by following this link.
5 - 3D Design

For this project, you will be introduced to 3D design using the OnShape software. First, you will create an account using your university email address by following this first tutorial:
Then, you will follow this tutorial to create your first 3D piece, allowing you to discover the main tools and functions of the software:
6 - Second 3D Project

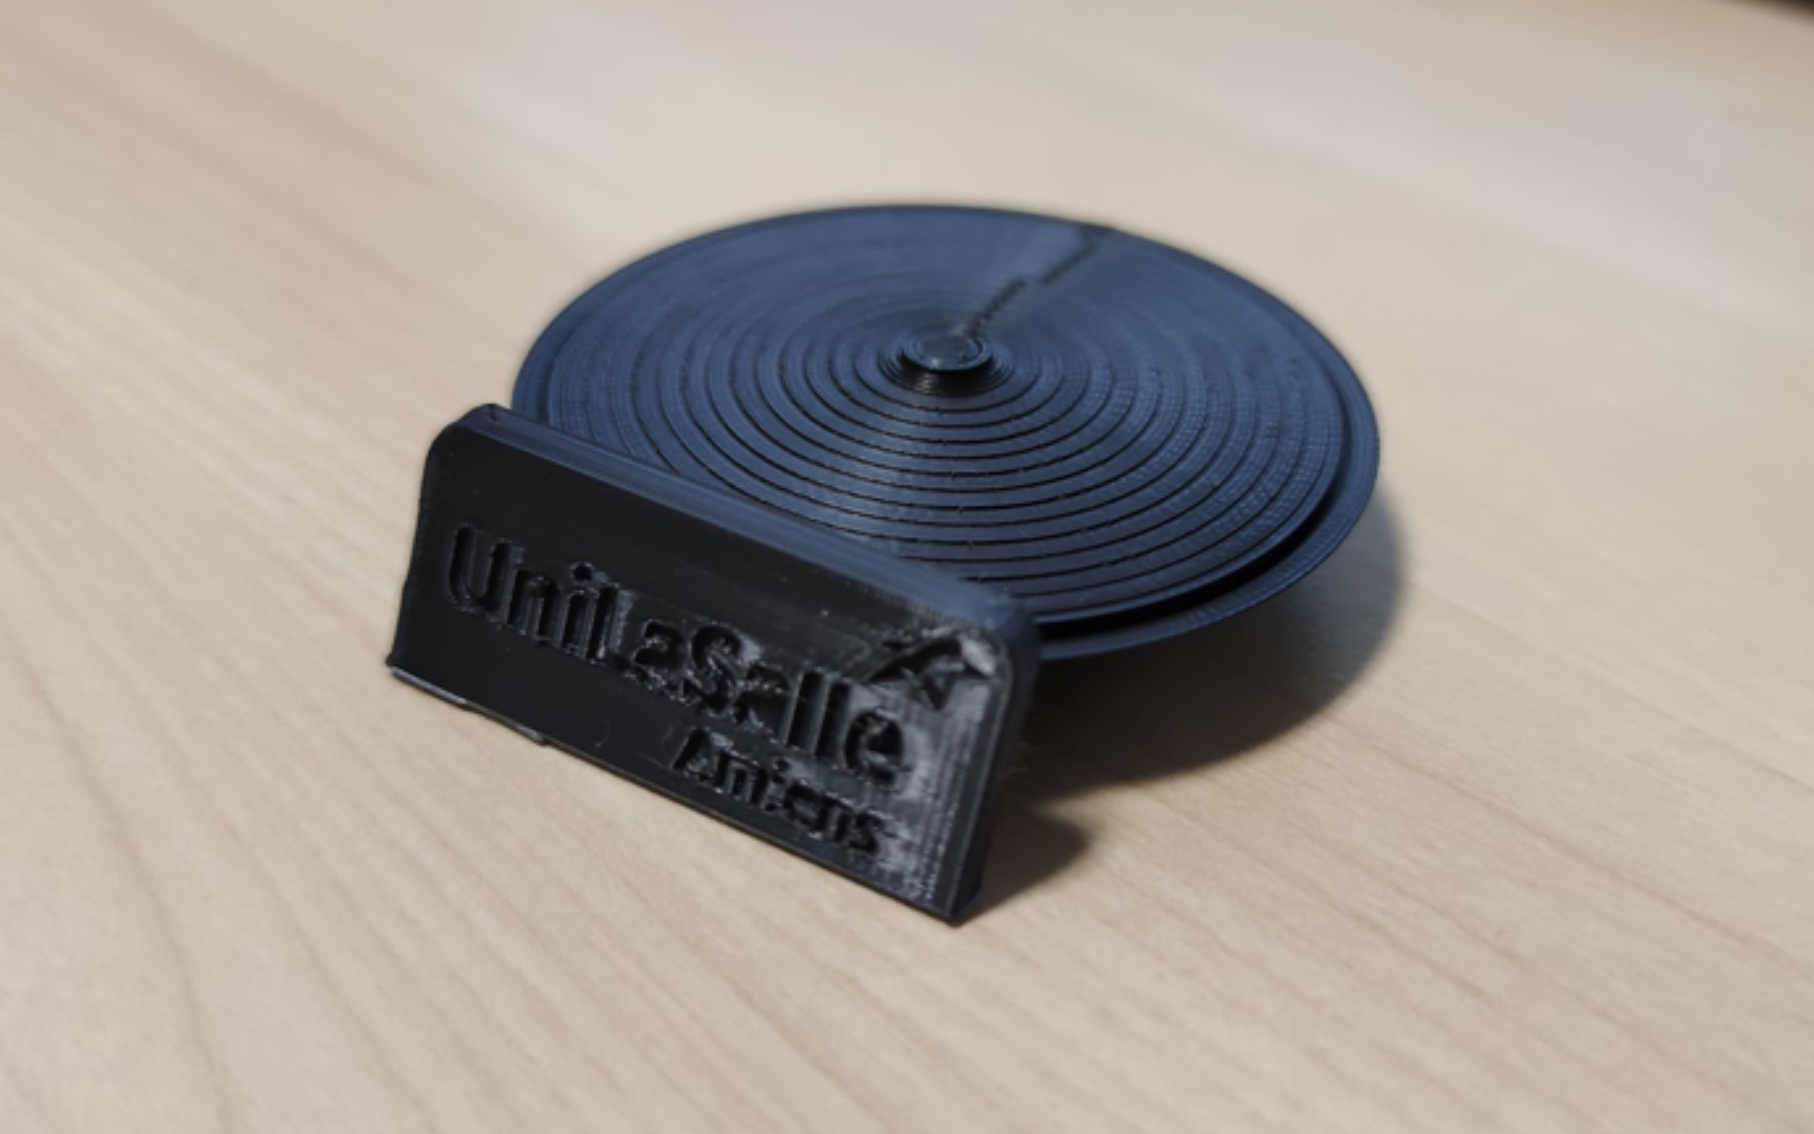
This second project will lead you to create a simple phone holder that you can then 3D print.
7 - Training

In this section, you will find images and blueprints of rooms that allow you to practice 3D modeling.
8 - Open Project
Now that you have seen the two main design techniques, we invite you to think about a personal project that you will carry out independently!